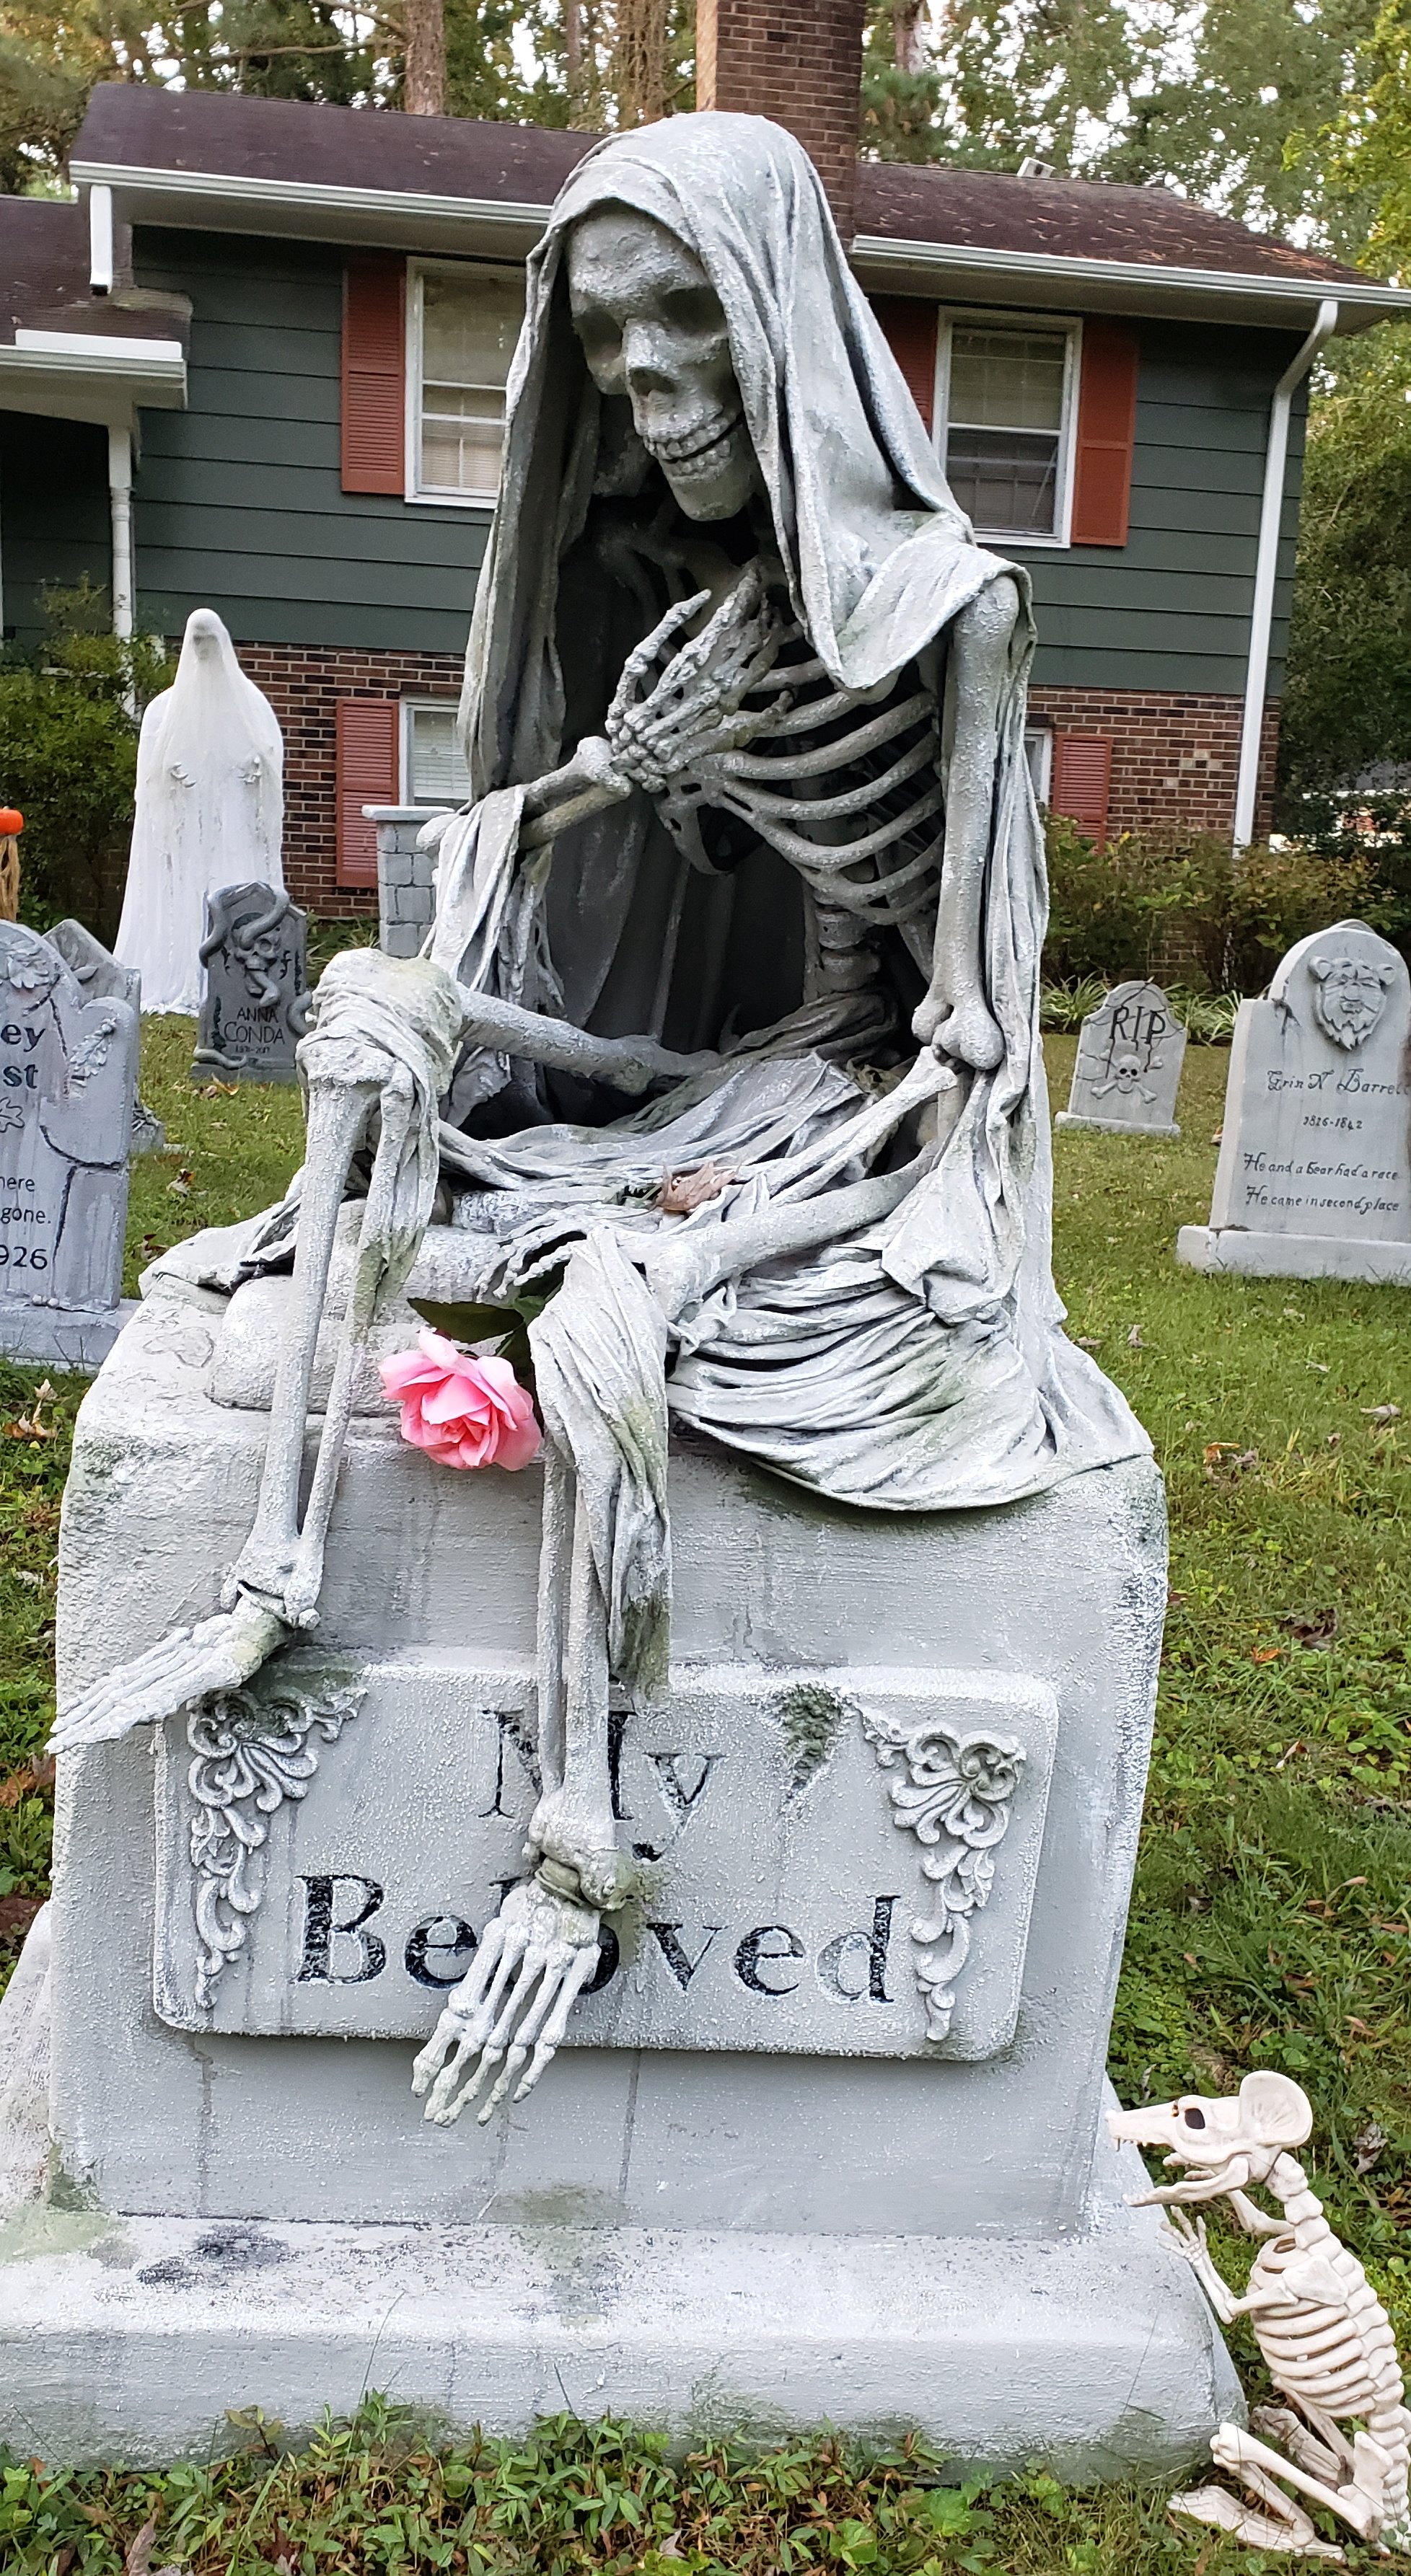
2020 Halloween Tombstones & Props

2020 Halloween

Hi All,

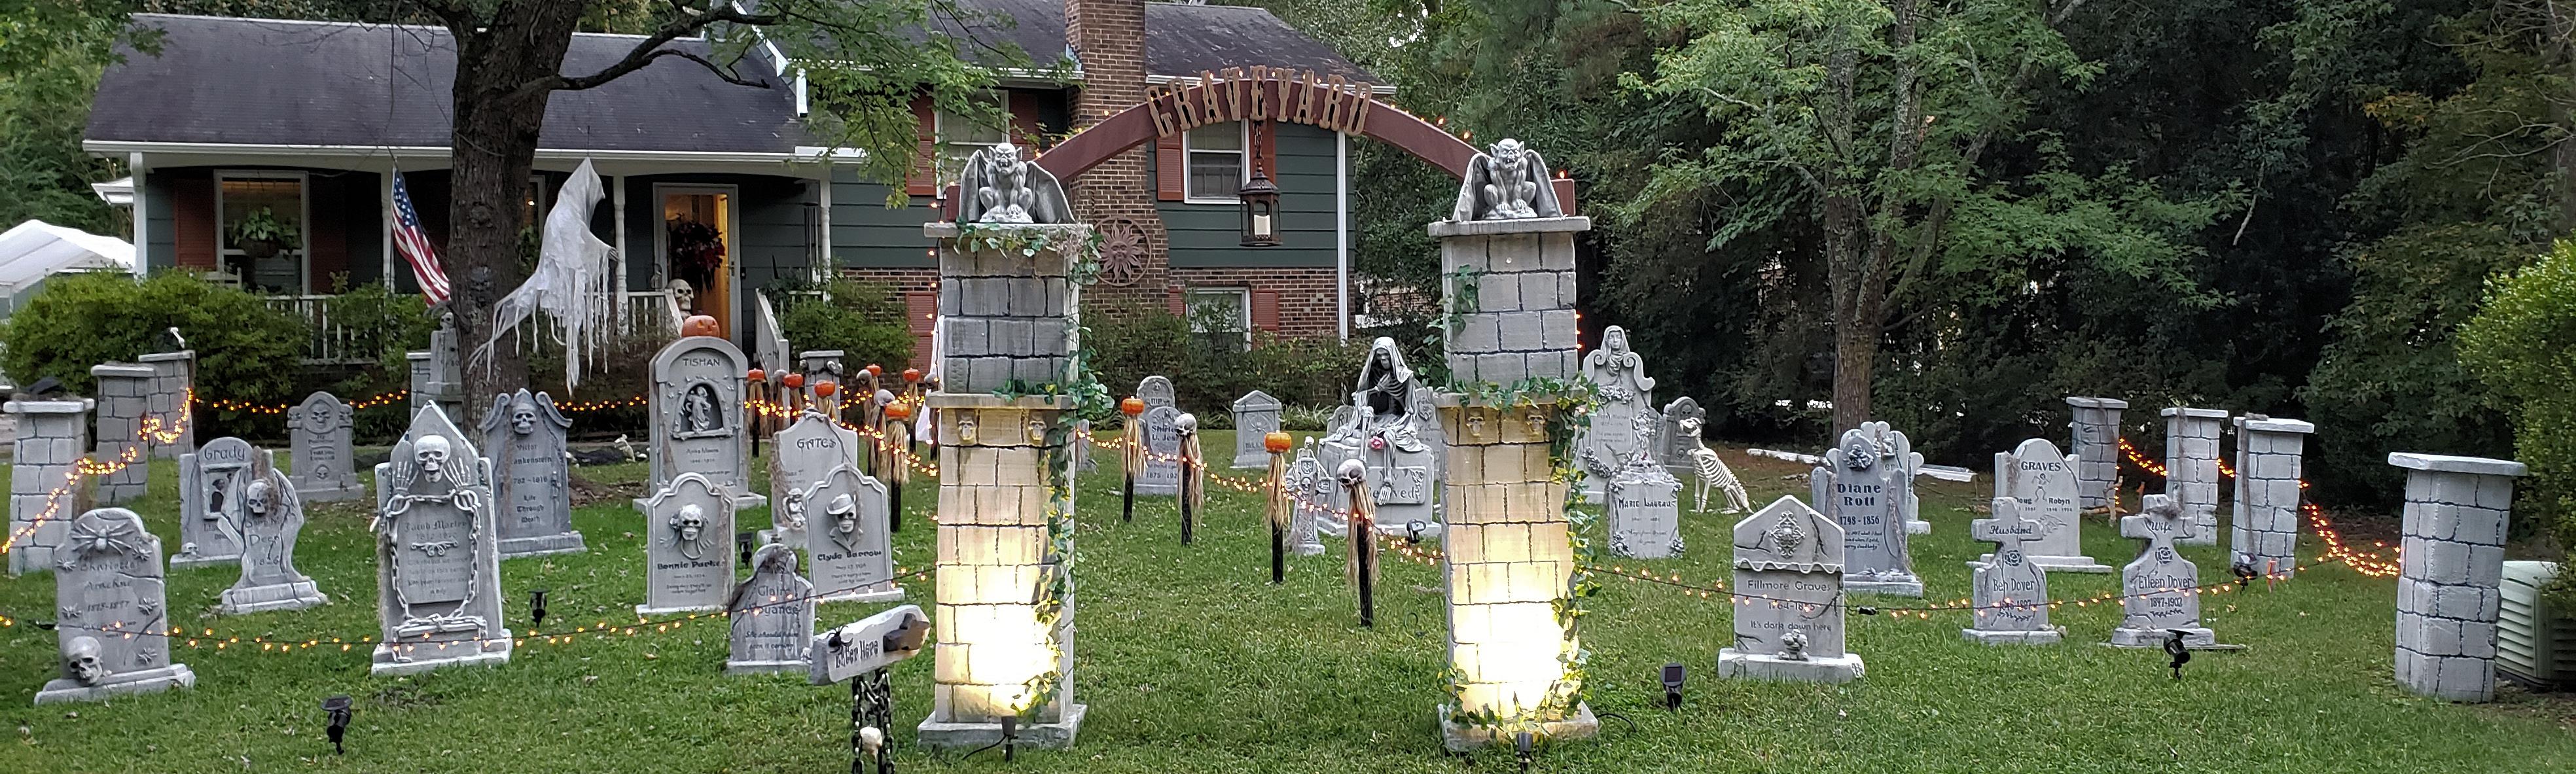
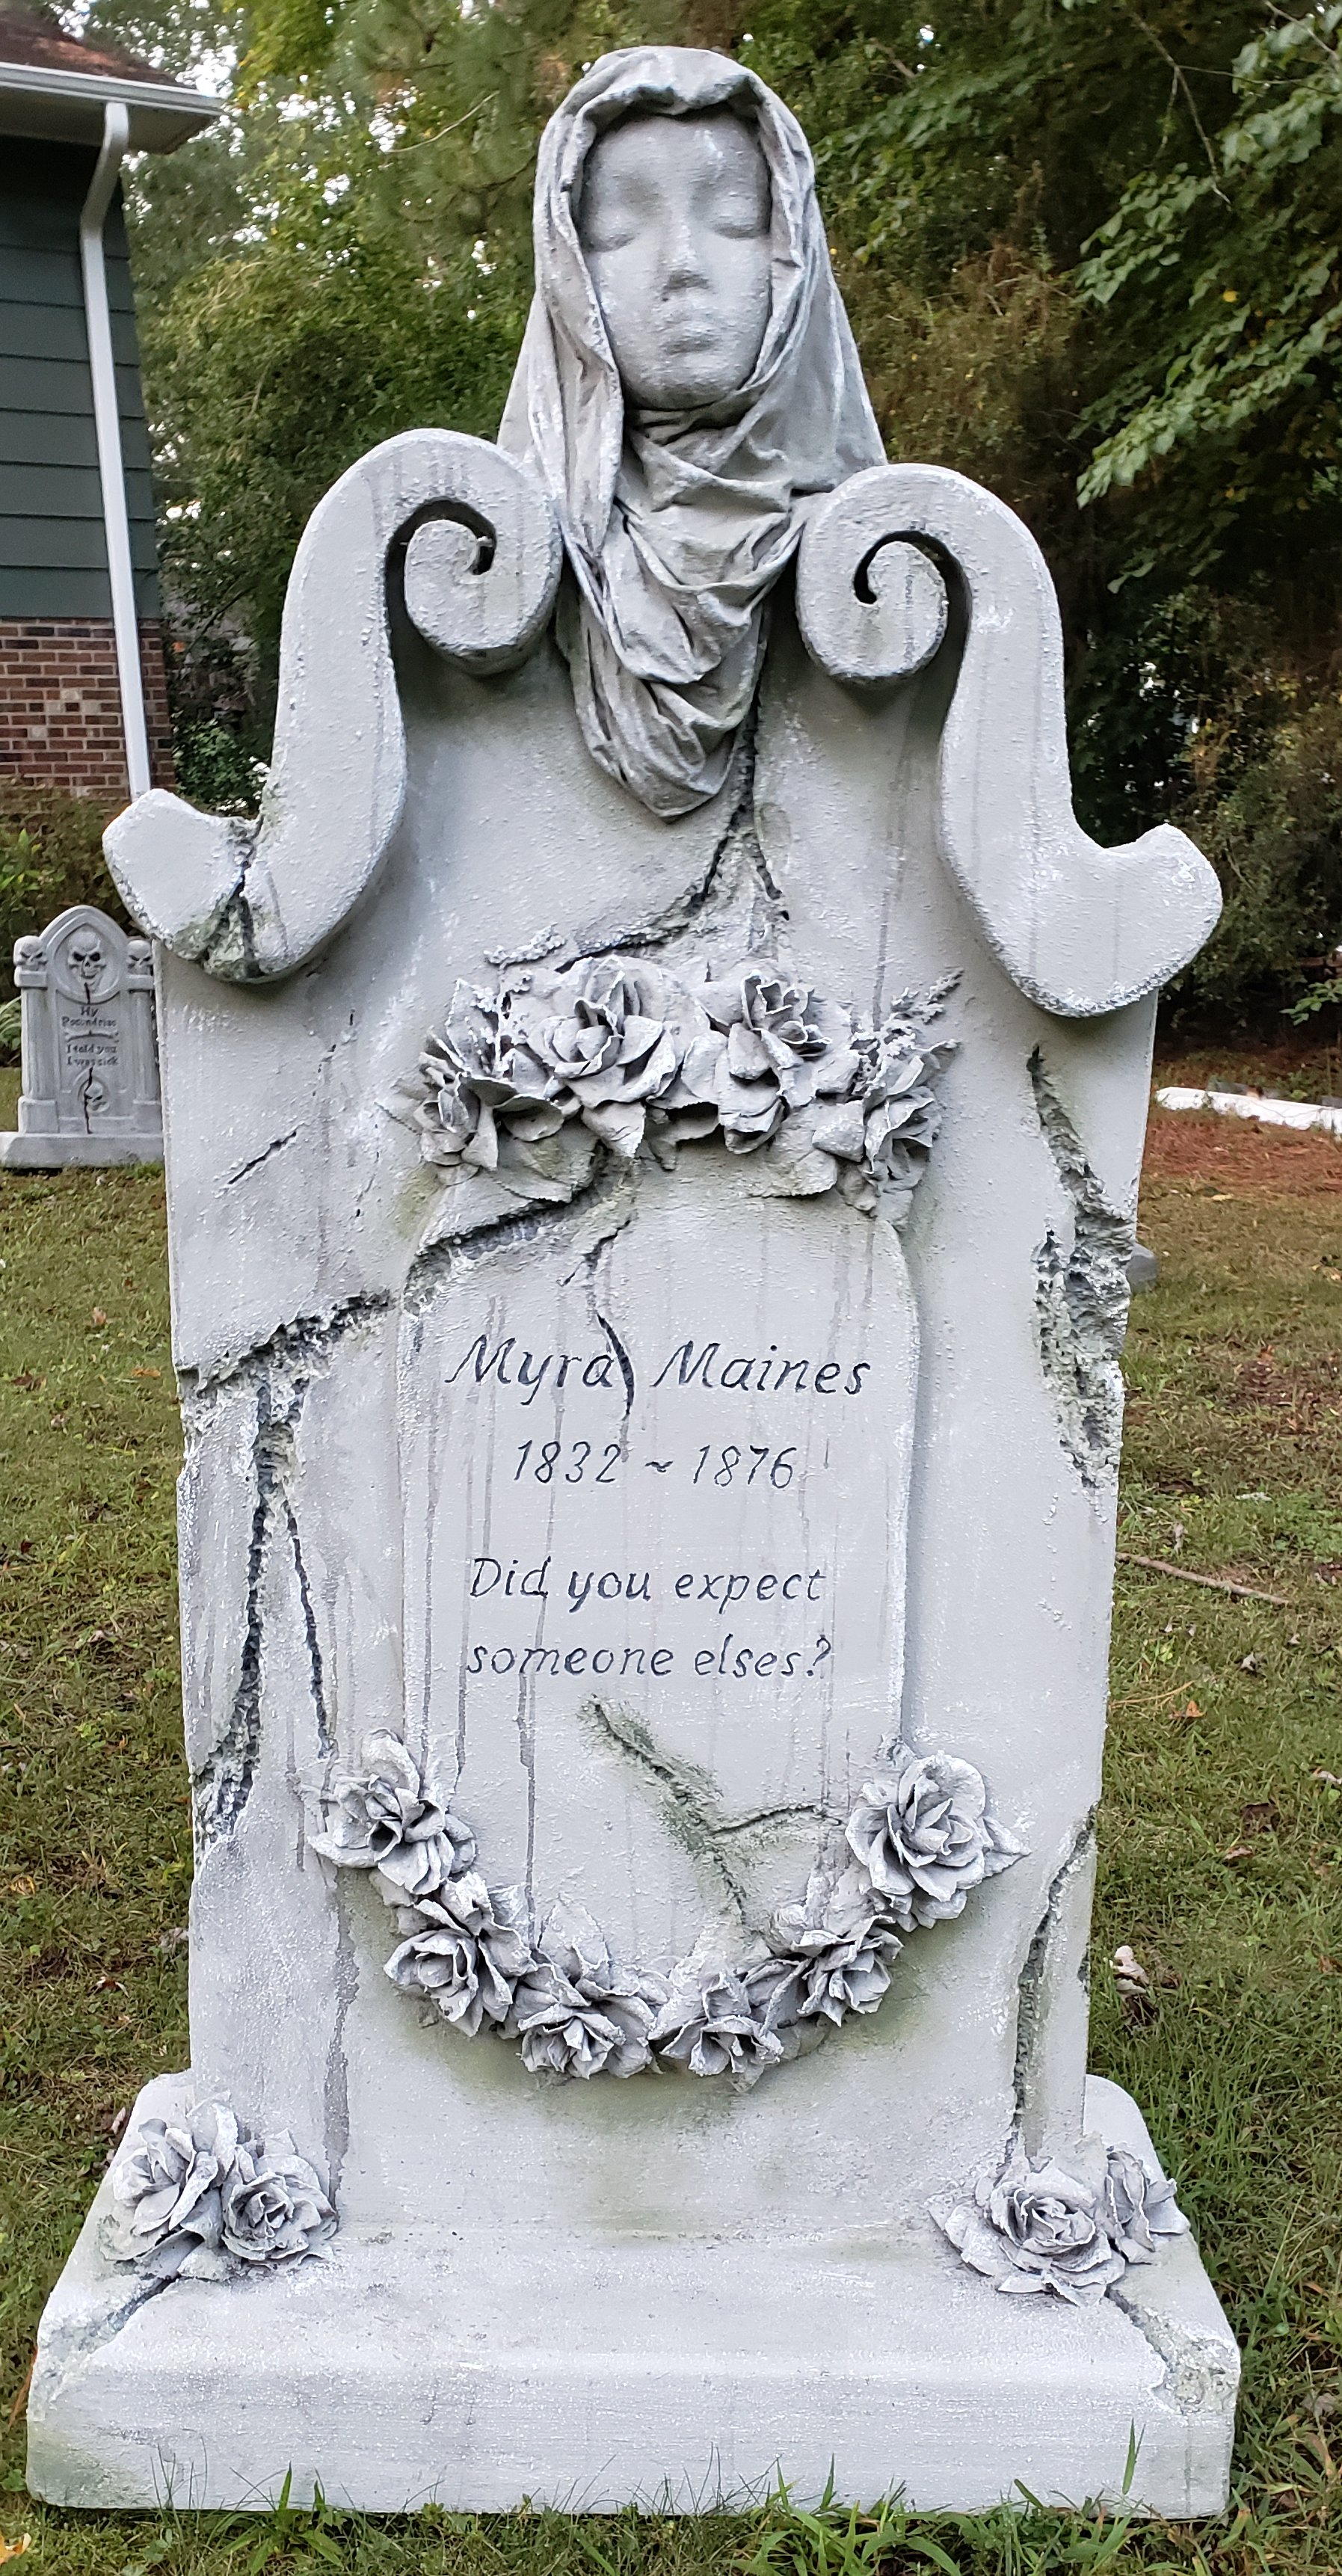
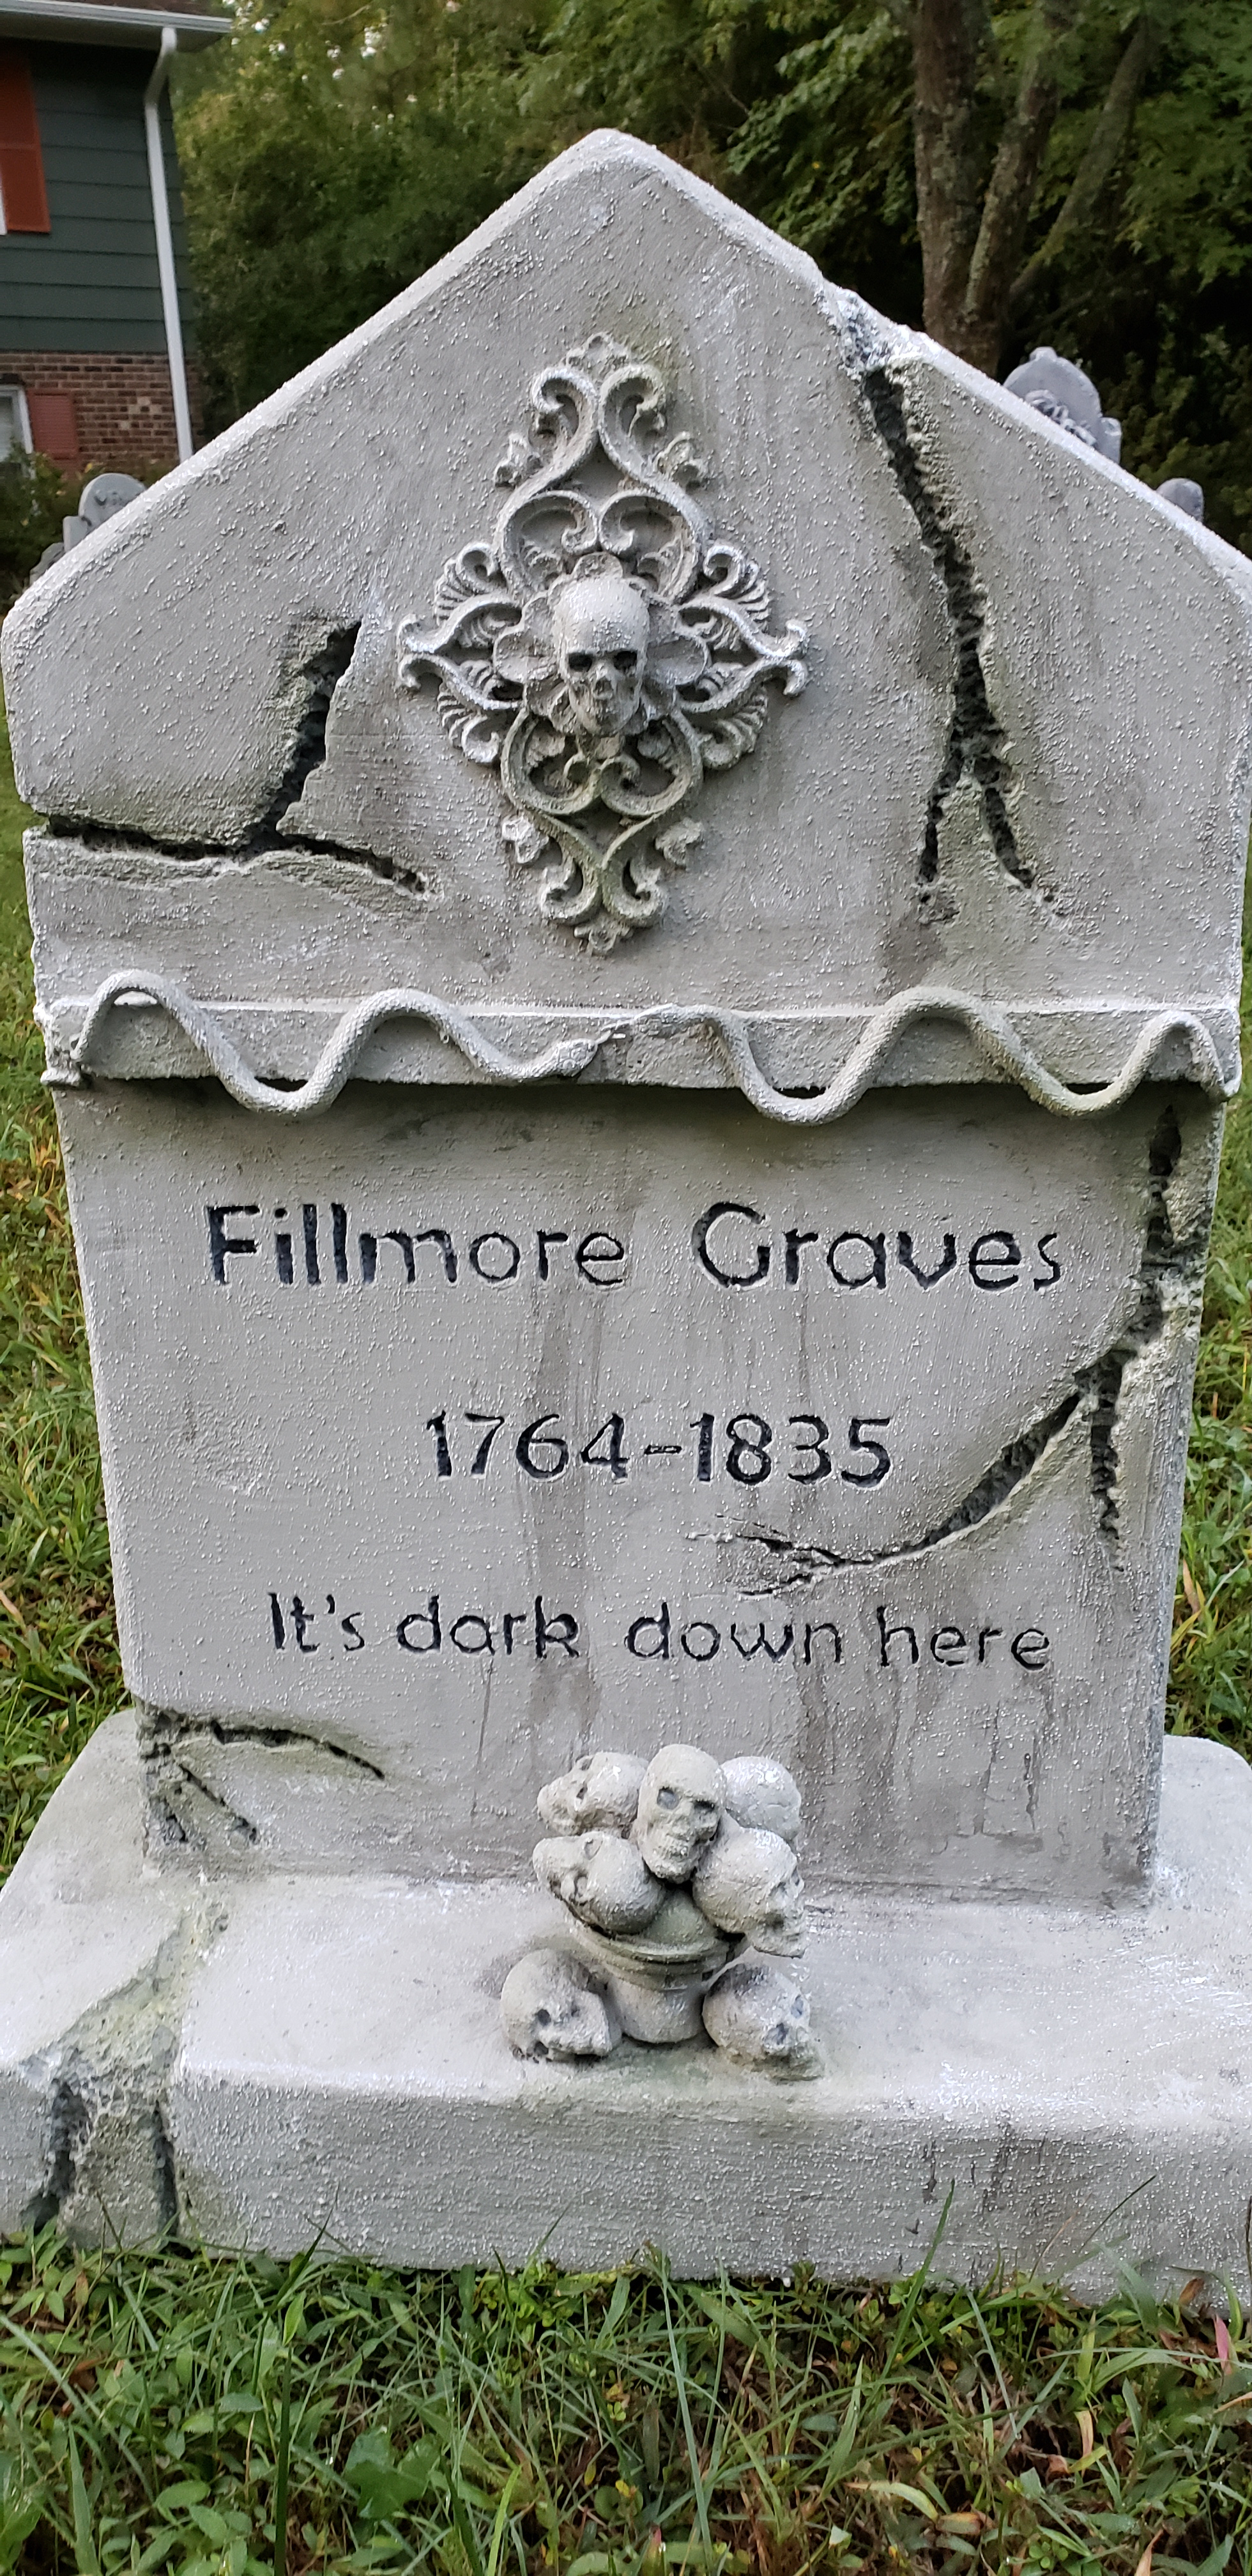
I only did three tombstones this year, but they were fabulous!!!

 The 2020 tombstones:

Beloved

Myra Maines

Fillmore Graves

Construction of Beloved

The Box

I used a styrofoad cooler filled with foam and then I glued foam on all sides.

Finishing the Box 

I added the "Beloved" name plate, which has 2 wooden flourishes to give it a bit of styling. You can see all of the wood filler & sanding I had to do.

Adding the Skeleton

You can see that I spray painted the skeleton gray prior to placing him on the stone. I used rebar stuck into the base and zip ties to attach him to the rebar.

His arm was broken off, so I attached it with zip ties to his body, but I moved it down in order to get his hands in the correct position. I used coat hanger wire to anchor both feet. After I got him on the stone, I noticed that his left leg was raised too high, but I didn't want to take the chance of repositioning him. I added another broken "layer" of stone for his leg to rest on.

I used a cheap Walmart twin sheet to make the wrap. Make sure to cut off the selvage and wash the sheet. I also cut up the pillow case to use as the drape on his legs.

Thoroughly mix 4 parts of drywall compound to 1 part of paint. I tried a 2:1 ratio... nope, it never got hard and I had to peel it all off and do it all over. I would use dark gray paint in the mix, this way his wrap will be a light gray.

Make sure you wear gloves and have on clothes that you don't care about, because draping him is messy. I was afraid to wet the sheet before placing it into the monster mud, because I had such a mess before. I would suggest that you wrap the sheet damp as you want it to drape. This way you won't be trying to figure it out with a heavy-filled monster-mudded sheet.

It rained the entire week right after I finished draping him, so I had to bring him inside the house to dry. I wanted him to be very stiff, so I repainted him entirely with drylock... my favorite stuff, just to make sure. What you save on the sheet, you'll spend on the drylock!

I finished him up with a white dry brush and 2-3 colors of green mossy paint. I also added four bolts (really screws with washers) on the side and added rusty paint splotched with a couple of dabs of black paint.

Construction of Myra Mains

After making the top "swish" I glued it on along with gluing on the name plate. After the glue was dry, I cut off the top corners to match the swish.

I glued her head on, then place flowers where I thought they might go, just to get an idea of how many I'd use and what it would look like. I took a picture of what I wanted, then removed them to age the stone.

|

I added the monster-mudded flowers and the drape. Note to self: STOP using any color besides gray for monster mud!!!

This Year's Skeletons

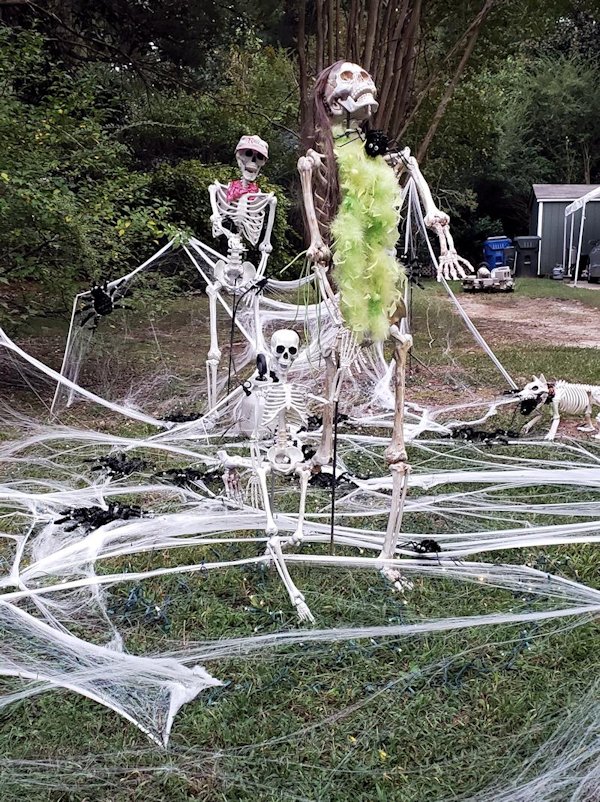
I'd seen a spider & skeleton scene on Pinterest, so I thought I'd put my own spin to it! I used blue string lights under it in order for the scene to be a bit more lighted. I used Dollar Tree Spiders, which are flat... not so wonderful. I'm going to get them propped up a bit with something.

I also used a blue spot light to light them up at night. I probably need to get another one to point more to the flat spiders!

The netting I purchased was a joke. The directions said that it would spread out to 10 x 10. Not. There are 4 packages of the stuff and although it said you could "roll out" the net... you can't. It did look good  when I finished. For the back area, to make the web higher, I stuck it on a tall piece of rebar and then stuck a tree branch in to hide it.

Note to self: Make sure ALL lights work before getting the net in place, as it is more than difficult to step on all that netting to find the lights that are out. The blue lights don't really look blue at night, so finding a different color or a better brand would be a good thing. I used Home Depot lights.

Other than those things, I love the display!!! I hope you enjoy it as well!


Buy with Confidence

we accept Visa, MasterCard and PayPal

You can use any major credit card
through PayPal at checkout.

SSL Certificate

Contact Us

Monday-Friday: 9am - 6pm
Saturday: 10am - 5pm
Sunday: Noon - 5pm
Eastern Time Zone